Rust rarely begins with dramatic damage. It starts as a dull orange mark beneath a washer, around a thread, or beside a cut edge. Moisture, salt, fingerprints, trapped dirt, and poor drainage can quietly accelerate the process. This is why learning How to prevent rust on steel and stainless steel hardware requires more than choosing stainless steel and hoping for the best.
Dr. Gerald S. Frankel, a respected corrosion scientist and professor at The Ohio State University, explains, “Corrosion control must consider the material, the environment, and the design together.” That principle guides this practical introduction. Steel hardware needs barriers, routine inspection, and prompt touch-up when coatings are damaged. Stainless hardware needs clean surfaces and protection from contamination, especially from carbon-steel dust. Small details matter. A wet bolt left inside a crevice may fail sooner than expected.
The following ten tips focus on realistic prevention. They cover material selection, surface preparation, drainage, fastener separation, cleaning, coatings, and inspection. Each step reflects common workshop and outdoor maintenance problems. Some recommendations are simple. Others demand discipline.
Perfect prevention is unrealistic. Even stainless steel can stain, pit, or suffer tea staining near coastal air. I have seen clean-looking hardware hide corrosion beneath clamps and gaskets. That is an easy mistake to make. Regular checks remain essential.
Use these guidelines as a working framework, not a substitute for site-specific engineering advice. Temperature, chemicals, humidity, and contact with dissimilar metals can change the outcome. Good corrosion prevention begins with careful observation.
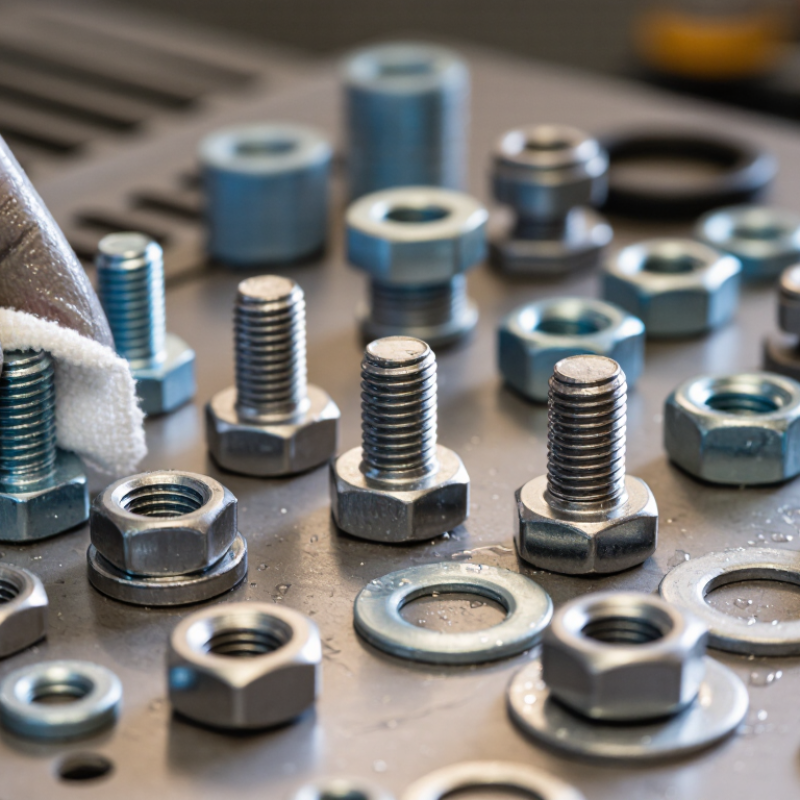
Top 10 Rust Prevention Tips for Steel and Stainless Hardware
ISO 9223 classifies atmospheric corrosivity from C1 to CX. C1 describes very low exposure, such as heated, dry offices. C2 covers rural or occasionally damp interiors. C3 reflects moderate urban humidity, while C4 indicates industrial air or coastal salt. C5 and CX demand serious attention. They include aggressive industrial zones, high-salinity coastlines, and offshore conditions.
Start with the environment, not the fastener. Record humidity, salt deposits, condensation, pollutants, and wetting time. A sheltered coastal bracket may experience less exposure than an exposed inland component near chemicals. Wash away salt regularly, improve drainage, and prevent water traps under washers or thread gaps. Use protective coatings on carbon steel, seal damaged edges, and keep dissimilar metals electrically separated. Inspect after storms.
Stainless steel is not rust-proof. Chlorides can stain or pit it, especially in C4, C5, and CX locations. Select a suitable stainless grade, keep surfaces clean, and avoid carbon-steel dust from nearby grinding. Check crevices, underside joints, and shaded areas. Small brown marks matter. They may signal deeper pitting.
Field records should include photographs, exposure class, inspection dates, and corrosion locations. ISO 9223 supports classification, but it cannot replace site testing or engineering judgment. Classification can also change after construction, landscaping, or pollution increases. That detail is easy to miss.
| No. | Prevention Tip | Relevant ISO 9223 Exposure | Recommended Practice | Material and Installation Guidance | Suggested Inspection |
|---|---|---|---|---|---|
| 1 | Classify the environment before selecting hardware |
C1–CX ISO 9223 considers humidity, pollution, and airborne salinity. |
Record indoor or outdoor location, time of wetness, condensation, sulfur pollutants, chlorides, temperature, and cleaning chemicals. Use the highest credible exposure when conditions vary. | Do not select fasteners from appearance alone. A low-risk indoor specification may be unsuitable for coastal, industrial, or continuously wet service. | Reassess after process, ventilation, chemical, or location changes. |
| 2 | Keep steel dry and remove water traps | Most important in C2–CX, especially where condensation or splash occurs. | Provide drainage, slope horizontal surfaces, seal or redesign joints where appropriate, and prevent standing water around washers, recesses, and threaded holes. | Avoid unventilated overlaps and crevices. Ensure washers and mating surfaces do not create pockets that retain moisture. | Check after rain, washdown, or condensation events; inspect trapped-water locations first. |
| 3 | Use a suitable protective coating system | Coating durability should be matched to C2–CX severity and expected service life. | Prepare carbon steel by removing oil, mill scale, rust, and soluble contaminants. Apply a compatible primer and topcoat at the specified dry-film thickness. | Protect cut edges, threads, bolt heads, and damaged areas. Follow the coating manufacturer's surface-preparation and curing requirements. | Look for pinholes, underfilm rust, blistering, cracking, peeling, and impact damage. |
| 4 | Select stainless steel by chloride exposure | Chloride-bearing C4–CX environments can cause pitting and crevice corrosion. | Consider a more chloride-resistant stainless grade as exposure increases. Evaluate concentration, wetness, temperature, and crevice conditions rather than relying on the word “stainless.” | Austenitic 316-type stainless generally provides better resistance to chlorides than 304-type stainless because of molybdenum, but it is not immune to corrosion. | Inspect shaded, threaded, overlapped, and washer-contact areas for tea staining, pits, or crevice attack. |
| 5 | Prevent galvanic corrosion between dissimilar metals | Risk increases in conductive moisture, salt spray, and C4–CX conditions. | Avoid unsuitable metal couples or electrically isolate them with nonconductive washers, sleeves, gaskets, or coatings. Keep the joint dry whenever possible. | Pay particular attention to stainless fasteners connected to carbon steel, aluminum, or zinc-coated parts. Design to avoid a small anodic area coupled to a large cathodic area. | Check around contact lines and drainage points for localized attack and coating breakdown. |
| 6 | Avoid contamination during fabrication and installation | Contamination can initiate corrosion in any class and is especially visible in C3–CX. | Use clean tools and handling procedures. Keep stainless components away from carbon-steel grinding dust, iron filings, and dirty work surfaces. | Do not use carbon-steel wire brushes or steel wool on stainless surfaces. Remove embedded iron particles using a suitable stainless-cleaning and passivation procedure. | Inspect after drilling, grinding, welding, or field modification. |
| 7 | Control salt, dust, and chemical deposits | Particularly important in marine and industrial C4, C5, and CX environments. | Remove deposits before they absorb moisture and form concentrated electrolytes. Use clean water or an approved low-chloride cleaning method, then dry completely. | Do not allow acids, alkaline cleaners, bleach, or chloride-containing residues to remain on metal. Confirm chemical compatibility before cleaning. | Increase cleaning frequency when visible salt, dust, process residue, or bird deposits accumulate. |
| 8 | Protect threads and crevices | Crevice corrosion risk rises with persistent moisture and chlorides, commonly from C3–CX. | Minimize narrow gaps, use appropriate seals where required, orient joints for drainage, and apply a compatible corrosion-protection compound to exposed threads when permitted. | Do not block required drainage or compromise the specified torque. Verify lubricant compatibility with coatings, seals, and the assembly procedure. | Check thread engagement, under-head areas, interfaces, and recesses for rust staining or binding. |
| 9 | Install hardware correctly and avoid coating damage | Mechanical damage is significant in all classes and accelerates attack in C3–CX. | Use the specified fastener size, grade, washer, and tightening method. Avoid over-torquing, galling, impact damage, and exposed bare steel at cut or drilled locations. | Repair damaged protective layers with a compatible system. For stainless assemblies, use suitable lubrication and controlled installation to reduce galling. | Inspect immediately after installation and after vibration, impact, or maintenance work. |
| 10 | Create a risk-based maintenance plan | Use shorter intervals as exposure increases from C1 toward CX. | Establish baseline photographs, inspection points, cleaning intervals, coating checks, and replacement criteria. Prioritize safety-critical and difficult-to-access joints. | Suggested starting intervals: annually for C1–C2, every 6–12 months for C3–C4, and every 3–6 months for C5–CX; adjust using actual corrosion findings. | Record rust grade, pitting, coating condition, section loss, loose fasteners, and evidence of water or chemical exposure. |
They describe atmospheric corrosivity from C1 to CX. C1 means very low exposure, such as a heated, dry office. C4 includes industrial air and coastal salt. C5 and CX require serious protection. Conditions can change after construction or pollution increases.
Start with the environment, not the fastener. Record humidity, salt deposits, condensation, pollutants, and wetting time. An exposed inland part near chemicals may corrode faster than a sheltered coastal bracket. This comparison can be imperfect.
Wash away salt regularly and improve drainage. Prevent water traps beneath washers and inside thread gaps. Use protective coatings on carbon steel. Seal damaged edges. Separate dissimilar metals electrically. Inspect after storms.
No. Chlorides can stain or pit stainless steel, especially in C4, C5, and CX areas. Check shaded surfaces, crevices, and joint undersides. Small brown marks matter. They may indicate deeper pitting.
Choose stainless hardware containing at least 10.5% chromium. Chromium forms a thin protective oxide layer. Higher chromium content may improve resistance in damp or contaminated areas. Chromium alone cannot solve every corrosion problem.
Check the material certificate before installation. A portable identification test can verify unclear alloys. This helps prevent plain-steel washers entering stainless assemblies. One ordinary washer can create rust marks around a sound bracket.
Keep surfaces free from iron dust, cutting oil, and salt deposits. Use brushes and tools reserved for stainless work. Rinse coastal hardware with clean water, then dry it carefully. Avoid rough grinding because embedded particles can damage the passive surface.
No. ISO 9223 supports classification, but it does not replace site testing or engineering judgment. A 10.5% chromium alloy may fail in severe marine exposure. Temperature, chemicals, crevices, and local salt levels need review. The selected grade may still be wrong.
How to prevent rust on steel and stainless steel hardware begins with understanding the environment. Use ISO 9223 corrosion classes, from C1 to CX, to evaluate exposure to humidity, salt, pollution, and industrial conditions. Select suitable materials for the expected environment, and remember that stainless steel should contain at least 10.5% chromium to support its protective oxide layer. When relative humidity rises above 60%, reduce moisture risks through ventilation, drainage, proper storage, and the elimination of water-trapping gaps.
Additional protection can be achieved with suitable coatings, provided their performance is verified through controlled ASTM B117 salt-spray testing. Regular inspection and cleaning are equally important: remove deposits, check joints and fasteners, and address scratches or early corrosion before damage spreads. Record findings using ISO 4628 rating methods so that changes can be compared over time. A consistent program combining material selection, moisture control, coating verification, routine maintenance, and accurate documentation can significantly extend the service life of steel and stainless steel hardware.

 Jefort Hardware